EN
EN

Site Selection and Foundation Preparation
The location of an outdoor electrical enclosure determines how well the equipment inside survives the first storm season. Three factors matter most: drainage, sun exposure, and access clearance. A pad or plinth placed at the low point of a site will collect water around the base, and even enclosures rated IP65 or IP66 can draw moisture through cable entries if standing water persists. The National Electrical Manufacturers Association recommends a minimum working clearance of 36 inches in front of enclosures that require examination or service while energized, following NEC Article 110.26, but outdoor units in open areas benefit from even more room. After grading the site to slope away from the pad, a properly sized concrete base with embedded anchor bolts sets the stage for everything that follows. Skipping the time to level the pad introduces stress into the enclosure frame that can twist door hinges and compromise gasket compression over time.
Mounting the Enclosure and Managing Structural Load
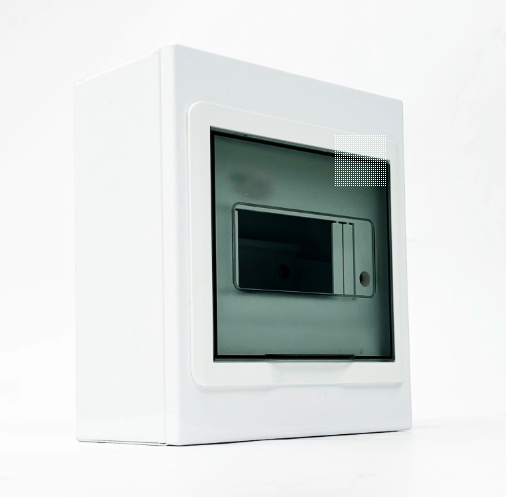
Once the concrete pad has cured, lifting and placing the enclosure is the first critical step that determines long-term weather resistance. A galvanized sheet steel enclosure, when properly anchored, handles wind loads far better than lighter materials, but only if the mounting feet sit flush against the pad. Any gap between the base and the concrete concentrates stress at the bolt locations. Shims made of stainless steel, never zinc-plated steel that corrodes in contact with concrete, fill those gaps. After torqueing the anchor bolts to specification, a quick check with a level across both diagonals confirms the enclosure has not twisted. The internal mounting plate for breakers, contactors, and terminal blocks should be installed after the enclosure is anchored, not before, because a loaded plate shifts the center of gravity and complicates placement. The enclosure material itself dictates how well the structure holds up under site conditions. Galvanized sheet steel provides moderate to high corrosion resistance depending on coating thickness and offers high structural rigidity, handling industrial and protected coastal applications well. Painted cold-rolled steel, while also rigid, has only low to moderate corrosion resistance and should be limited to sheltered outdoor locations. Stainless steel grades 304 and 316 deliver high to very high corrosion resistance, with 316 preferred for severe salt spray and chemical plant environments. Fiberglass-reinforced polyester enclosures are non-conductive and rust-proof with very high corrosion resistance, but they carry only moderate structural rigidity and may warp under heavy internal loads. Galvanized sheet steel enclosures with a properly applied powder coat offer a practical balance of strength and corrosion resistance for most outdoor installations, which is why they remain the default choice in many industrial specifications.
Cable Entry and Sealing the Enclosure
Cable entry points are the most common path for water, dust, and insects into an outdoor enclosure. Every knockout or drilled hole must be fitted with a cable gland or strain relief connector that matches both the cable diameter and the enclosure's IP rating. Bottom entry is standard practice for outdoor installations because it reduces the chance of water following the cable into the box. If top or side entry is unavoidable, a drip loop with the cable curving downward before entering the connector gives water a place to fall off. Within the enclosure, grouping cables with similar voltage levels and maintaining separation between power and control wiring follows the wiring practice guidelines in IEC 61439. A sealing washer under each gland nut, tightened to hand-tight plus a quarter turn, completes the weather seal without cracking plastic components.
Internal Layout and Thermal Management
Heat kills electronics faster than moisture in many outdoor enclosures. A unit packed tightly with breakers, power supplies, and contactors can exceed component temperature ratings on a summer afternoon, especially with direct sun on the enclosure surface. The internal layout should place heat-generating devices near the top ventilation path, with temperature-sensitive components like programmable logic controllers or communication modules mounted lower. A simple thermal calculation, using the total wattage dissipated inside the enclosure and the manufacturer's published temperature rise data, determines whether passive ventilation is enough or a filtered fan is required. In locations with blowing dust or salt fog, a closed-loop cooling solution like an air-to-air heat exchanger maintains the IP rating while moving heat out. Temperature sensors with remote monitoring can alert maintenance teams before internal conditions cross a damage threshold.
A Field Lesson from a Wastewater Treatment Plant
A real installation at a wastewater treatment facility in a humid region demonstrated how small oversights cascade. The project team, drawing on over two decades of experience with electrical distribution enclosures, mounted a control enclosure on a concrete pad next to an aeration basin. The initial installation used bottom-entry cable glands, but the contractor omitted sealing washers. Within six months, hydrogen sulfide gas from the basin migrated into the enclosure through the unsealed threads, corroding copper busbars and relay contacts to the point of intermittent failure. The fix required replacing the damaged internals, installing sealed glands rated for chemical exposure, and adding a small positive-pressure purge system that kept corrosive gases out. The lesson was not about the enclosure's IP rating on paper. A correctly rated outdoor electrical enclosure still depends on field assembly discipline at every cable entry point.
Maintenance Practices That Extend Enclosure Life
An outdoor enclosure in service does not take care of itself. A basic six-month inspection cycle catches most problems before they cause a failure. The checklist is straightforward: check door gaskets for compression set and cracks, verify drain holes are clear of debris, inspect cable glands for signs of pulling or UV degradation, and test the operation of any installed thermostats or fan controllers. After a severe weather event, opening the enclosure to check for moisture intrusion and re-torqueing any visibly loose terminations prevents long-term damage. The internal environment should show no signs of condensation, rust, or insect activity. If moisture appears repeatedly, the ventilation strategy needs rethinking, not just a bag of desiccant tossed inside.
For installations that demand a dependable enclosure from day one, manufacturing quality upstream makes a measurable difference. Guoguang Electric has built distribution boxes from galvanized sheet for more than two decades, operating under ISO 9001:2000 quality management and testing to China's GB standards. Modern production equipment, specialized engineering expertise, and a complete quality assurance system support the consistent build quality that outdoor electrical enclosure applications require. For contractors and panel builders planning an installation that needs to hold up season after season, that manufacturing foundation means fewer field surprises.